Showing posts with label christmas card. Show all posts

Thursday, August 22, 2013

Christmas Cardinal

Hi Everyone!  Are you having a good day?  I woke up thinking it was Friday...not fun to realize it's only Thurs.  Oh well....on a positive note I received the CTMH holiday stamps I ordered yesterday and was able to play with them a little last night!  That's always fun!!

I started with this weeks sketch from Mojo Monday:
and the stamp set, To You and Yours:
and here's my card:

The pattern papers are from My Mind's Eye 6x6 pad, Sweater Weather.  I used barn red to ink the edges of the red pattern paper and olive to ink the edges of the green pattern papers.  I added red pearls for the berries and bitty pearls on the top right and bottom left. I popped up the middle banner and the cardinal on foam tape for some dimension.


The sentiment inside is from another stamp set, Yuletide Greetings.


Have a great day!!

Linking to:
Mojo Monday - sketch
Cardz TV - pop it up
Paper Playtime - use pearls

August Special Sweetening the Deal - spend $50 and get the August stamp of the month for FREE!!
Click here to see my 3x3 cards using this set!


Sunday, August 4, 2013

Fishing up some Christmas Wishes

Hi everyone!  I have another Christmas card to share with you today.  I was sitting here with my husband this morning and said I was working on something with candy canes.  He tossed out the idea of fishing candy canes.  I love that man!  He sure does help me out when I run into a creative block  :-)


I started with a red card base, 4 1/4 x 5 1/2.  I cut a blue and white polka dot paper 1/8" smaller, inked the edges with indian corn blue and ran it through my cuddlebug using the snowflake folder.  The background paper came from My Mind's Eye 6x6 paper pad called Sweater Weather.  All other paper came from scraps. 

 I used quite a few different cartridges for this one.  The clouds are from This & That, sized at 1/2" and inked with indian corn blue ink.  The trees were cut a various sizes from Paper Doll Dress Up.  I colored the trunk with a brown marker and added silver glitter like garland or snow.  The snow was cut from the grass border on Plantin Schoolbook under the RolyPoly feature at 1 1/2".  I cut three of these, inked the top with indian corn blue, alternately layered them and spread some stardust glitz over them for glistening snow. 


The pond was also cut from Plantin Schoolbook, the oval under the Basic feature at 1 1/4".  The deer was cut from Campin Critters at 2 1/2" and I just cut the fish off the line.  The wreath over the antlers came from Christmas Solutions and was cut a 1" and added green glitter glue.  The candy canes were cut at various sizes from Tis the Season.  I cut these out of red and added the white stripes with my gel pen.  I  popped up the deer and a couple of the candy canes with foam tape.


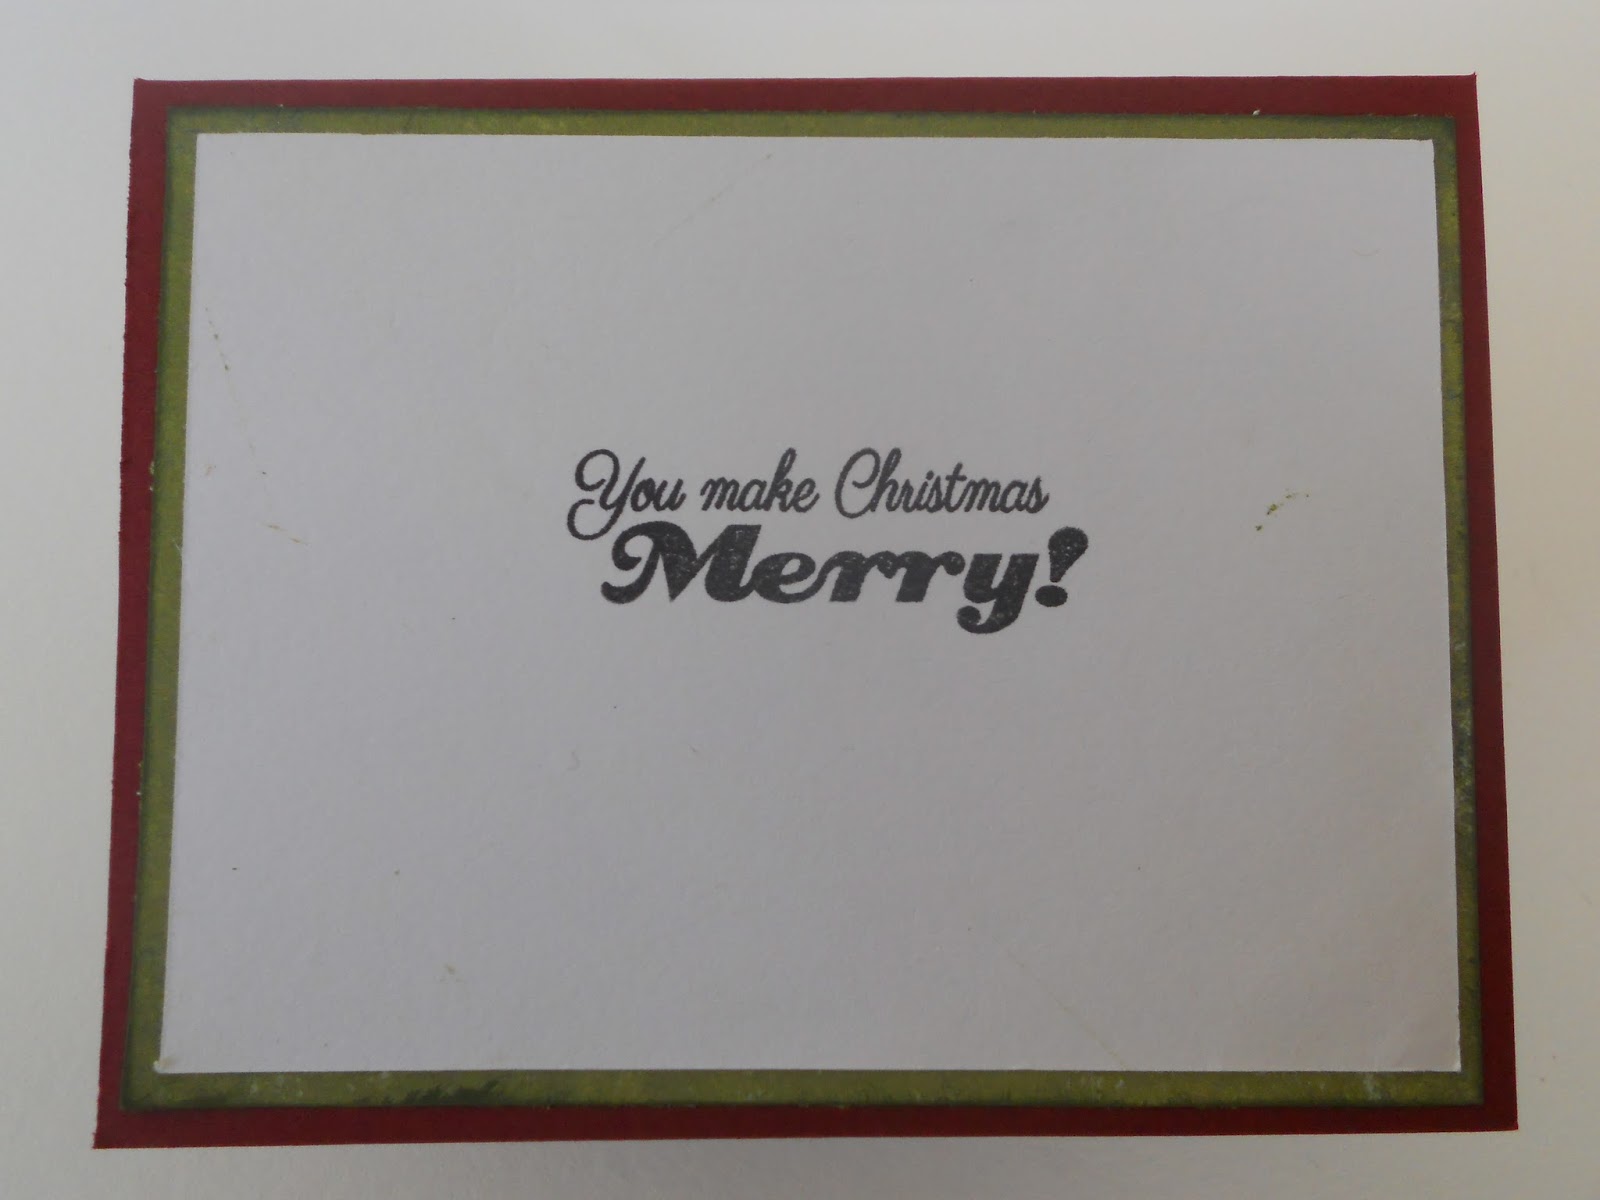
I didn't have a stamp that I liked for a sentiment on this card so I typed it up in a word doc and used a free font called Beyond Wonderland.  I had some scraps from the same Sweater Weather paper pad left from another project, so I trimmed them to 1/4" and added to the top and bottom.


Hope you enjoy!!  And I'm sending a BIG thank you to my husband for the creative idea!!!!  

Linking to:
Bitten by the Bug 2 - Christmas in July
Festive Friday - Candy Canes
Paper Crafting Journey - Punches and/or Die Cuts
Die Cuttin Divas - Anything Goes


Tuesday, July 30, 2013

Christmas Door - shape card

Hi Everyone!  Another Christmas card today!  This one is inspired by a color challenge over at Festive Friday.


 I'm more of a traditionalist when it comes to Christmas colors and decorating  so this was definitely a challenge for me, but fun to step out of the box!

Here's what I came up with:


The door come from the Christmas solutions cartridge.  I sized it at 5" and welded two together to make a shape card.  The card and all it's layers are cut with white daisy cardstock.  I used cotton candy ink to highlight some spots on the door.  The wreath comes from Martha Stewart Seasonal Cake Art cartridge.  It is sized at 2 1/2".  The base of the wreath is cut from slate cardstock and the pink for the birds and bow came from my scrap stash. I put a little scrap of yellow behind the window and added a pink rhinestone to the center of the bow.

Inside, I simply stamped it Happy Holidays in cotton candy ink. The sentiment is from an Echo Park stamp set called Season's Greetings by Bella Road.


I like it!  I think I need to find more color challenges so I can step outside my comfort zone a little more :)

Have a great day!!

Linking to Festive Friday

Monday, July 29, 2013

Jolly Santa card

Hello!  I'm back today with another Christmas card - told ya I wasn't done LOL

I started with a sketch for today's card from The Sweet Stop


and here's my card


I used red cardstock for the base.  Both the striped pattern an the green paper comes from My Mind's Eye 6 x 6 pad, Sweater Weather.  I added a scallop ribbon scrap I found on my table.  Santa is from the Jolly Holidays cricut lite cartridge.  He is found on button 3 and I cut him at 2 3/4".  The Ho Ho Ho stamp is from a Scrappy Moms set called Christmas Cheer.  The holly leaves and berries are from a set of Recollections stickers I bought on clearance at Michaels last year.


I left the inside pretty simple so there's a lot of room for writing those holiday messages.  The sentiment is from the same Scrappy Moms set Christmas Cheer.


Hope you enjoy!  I'll see you tomorrow with another project!  Have a great Monday!

Linking to:
The Friday Mashup - Christmas project with stripes
Bitten by the Bug 2 - Christmas in July


Thursday, July 25, 2013

Christmas in July # 6

Hi everyone!  I'm here with Christmas in July project # 6! Today I have a card to share:


I started with a kraft card base, 4 1/4 x 5 1/2.  I layered a red mat 4 x 5 1/4 and a holly berry pattern mat 3 3/4 x 5.  The pattern paper is from Recollections Jolly Jamboree paper pad I picked up last year.  Then I used the Ornamental Cheer stamp set that coordinates with the Art Philosophy cartridge.  I cut a background red ornament at 3 1/4" and the stamped ornament at 3" in kraft.  I added some twine to the top of the ornament and I used the Martha Stewart branch punch to add around the top.  Ink color is New England Ivy.


I used the Merry Christmas stamp from the same set on the inside.


I love how easy it is to create with the the cricut coordinated stamp sets!  

Hope you enjoyed today's Christmas project.  I'll be back tomorrow with the final project for Christmas in July!  Have a wonderful day!


Saturday, July 20, 2013

Christmas in July - Project 2

what?!?!?!  Two posts in one day!!!  Welcome to project #2 in my Christmas in July week!

Today's project is a Christmas scene card:


All cuts are from the Christmas Solutions cartridge that I purchased digitally and all papers are from my scraps!  I love that!

The base is a white a2 size card.  The blue layer is 4 1/4 x 5 1/2 to cover the whole card front.  I adhered a strip of white sized 1 1/4 x 5 1/2 with a torn top edge for a snowy ground.  The back set of trees are cut at 1.986 and adhered directly to the card.  The front set of trees are sized 1.708 and adhered with foam tape for dimension.  The trees are found on button 43.  The house and snowy layers (button 46) are sized 2.139.  I used a scrap piece of yellow on the back so it would look like light coming through the  windows.  I popped the house and the ground snow layers up with foam tape.   The moon and Santa's sleigh and reindeer are all cut at 1.5 inches and adhered directly to the card front.  I used stardust glitter gel on the snowy layers for some sparkle.  The sentiment is from a Recollections set called Merry Merry.


Thanks for joining me today!  I'll be back tomorrow for project #3 for Christmas in July!

linking to:
Exploring Cricut challenge and Fantabulous Cricut challenge